Visit my Etsy Shop!

Sunday, January 29, 2012

Kitchenaide Mixer Makeover

This Christmas my mom got a new KitchenAide mixer. Her old one, which she has had for 18+ years was looking pretty ratty, yet she was generous enough to give it to my older sister, a graphic design major. It was still running great, but she looked at the mixer and realized there was potential to be taken advantage of. The results were amazing but first she had the task of cleaning years of cake mix, dirt, and grime.


Before & After


She started by taking apart the KitchenAide very carefully!


She used Clorox Clean Up Bleach and a strong sponge for the clean-up!


And the finished, CLEAN KitchenAid was like new!
 But she wasn't finished there...

She covered all the metal parts with lots and lots of tape!


Using her Sillhouette Cameo, she cut out a design along the edges to spray paint over.


Once she was finished, she peeled off the sticker design.


Took off the tape and she had a finished KitchenAide Mixer totally Remodeled!


Masquerade

So about $600 later, I have my computer back and my screen is finally normal!

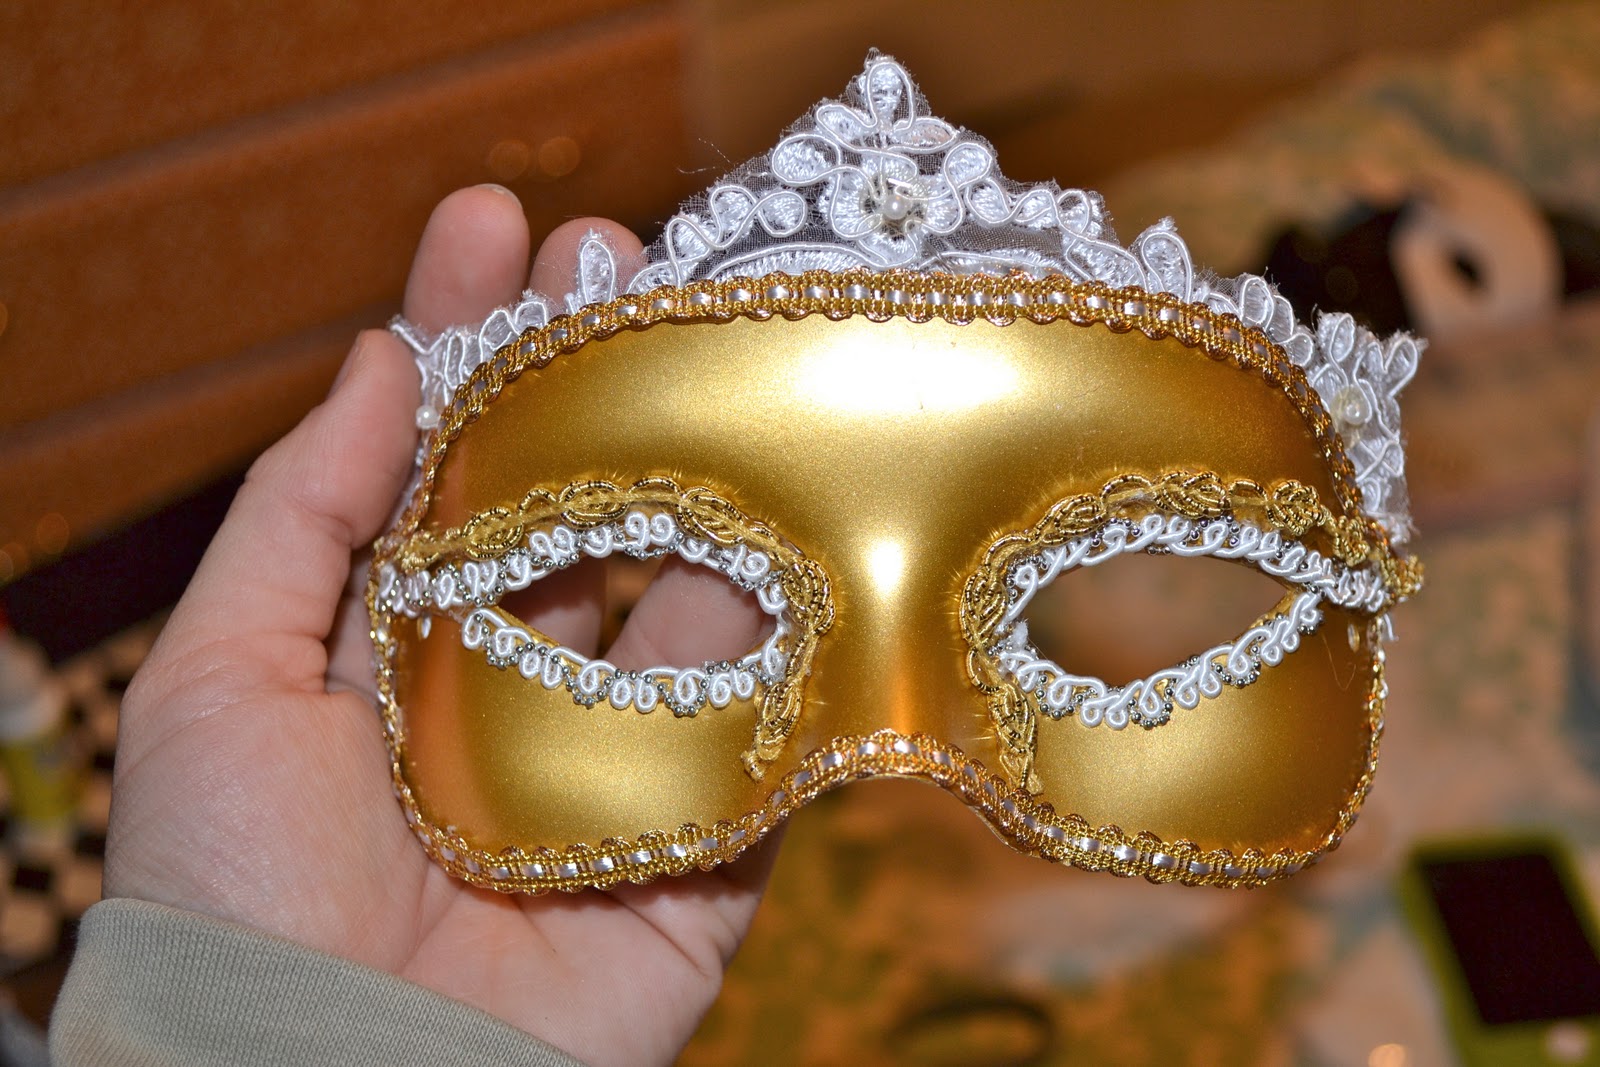
In about 3 weeks my sorority is hosting a Masquerade party and my first thought was....I could buy a really cute one! Once I started looking at Etsy and other places like that, I realized that $60 was just not worth it to buy a mask. I figured I would just go to Hobby Lobby and make my own mask.


Supplies:

Gold Mask-$3
5 different types of gold and white ribbon-$10
Bag of feathers-$2
Feather decor (right next to the masks)-$3
Gold and Pearl Pendant-$3
1/2 yard of lace-$4
Here is the stuff I already owned:
Hot Glue Gun
Wooden Skewer
Gold Paint
Scissors


First I started with the different types of ribbon and a glue gun organized.


Then I took the feather decor half circle and glued more feathers onto it!


Then on the front side I glued on some lace, pearls and ribbon with the hot glue gun.

I then cut three pieces of lace and hot glue it to the back, so that the lace was peaking over the top of the mask.


Then I cut and glued ribbon around the edges and around the eyes. This was so simple!!

Then I laid the mask and the feathers together to see how they would look together!


Then I painted the wooden skewer gold and hot glued ribbon around it. I hot glued the skewer to the mask and then caked the hot glue over the skewer to attach the feathers. See how I also added the pendant to the center of the feathers!


I added two strands of pearls hanging from the pendant and then I was finished!

Now you can Mardi Gras in style, this was the mask in action.

Thursday, January 19, 2012

my computer got stepped on..

I can't blog for now because I have no way of uploading my photos! I will be back soon!

This is what my screen looks like:

Wednesday, December 28, 2011

Chocolate Covered Banana Bites

I made this treat a while back it was really really amazingly delicious!!!! Four simple ingredients and I couldn't believe how good they were.

You need:

Bananas (as many as you are going to make, one banana makes 5 bites)
Semi-sweet chocolate morsels
Smooth peanut butter
Chopped pecans (could also use shaved coconut or something of that nature)

With some tooth-picks, microwave, parchment paper, and a freezer you are good to go!

I peeled a banana and cut the bananas into 4-5 pieces for medium sized bites. I melted 2 parts chocolate and 1 part peanut butter in the microwave until smooth in a small bowl. (2-3 minutes)
I put the banana bites onto toothpicks and dipped the banana into the melted chocolate and peanut butter.
I sprinkled the chopped pecans onto the chocolate covered bananas and put them in the freezer for an hour and a half.
Serve them immediately, and if they get too frozen you need to take them out sooner than an hour and a half!


And they are ready to serve for a quick snack at home, at a party, or by the pool on a nice summer Saturday!

Monday, December 26, 2011

Purple and Silver: Keeping it Real

These nails were painted by my family's new sister, Anna, our foreign exchange student from Finland! She thought of the idea of using painters tape to make half and half with purple and silver!

Super easy, just paint, wait to dry, put the tape down, and then paint the other side! Using O.P.I. and then silver polish from Forever 21 for less than $3!