Visit my Etsy Shop!

Showing posts with label DIY. Show all posts

Saturday, January 12, 2013

Chalkboard Paint

I painted wine glasses for name labels, they are hand washable in the sink:


Chalkboard Paint Recipe

Ingredients: 
3 teaspoons acrylic paint [colour of choice]
1 1/2 teaspoons glazing medium [water based]
1/2 teaspoon powder tile grout [Not Sanded]

Instructions:

Mix together all of the ingredients listed above, blend really well and that's it. You now have chalkboard paint! You should only mix as much as you will need for your project. It doesn't keep well, but can be stored in an air tight container for a few hours. You should do several coats. Wooden surfaces work the best to paint onto!
After a longer period of time, the paint will begin to thicken a little and become a bit brittle.


Helpful Hints:
Apply your paint with a regular paint brush and allow each coat of paint to dry completely, before applying the next. After each coat of paint, gently sand the paint with a 400 grit or higher grit sandpaper and wipe away any dust. This will help keep your painted surface nice and smooth.

You also need to condition your chalkboard, once you have finished painting. Be sure your paint is completely dry. Place a piece of chalk on the side and rub over the entire chalkboard surface, covering the entire area with chalk. Using a felt cloth, wipe off the chalk you just applied. With a slightly damp cloth, wipe the chalkboard clean.

Now your chalkboard paint is ready!

Friday, May 18, 2012

Instant Ice Cream

Have a craving for ice cream? Well you can make instant homemade ice crew with three ingredients, rock salt, ice, and some ziplocs! I made mine with Big Red soda to give it some extra flavor! Here's how:

Ingredients:
1 tablespoon sugar
1/2 cup milk or half & half
1/4 teaspoon vanilla
6 tablespoons rock salt
1 pint-size plastic food storage bag (e.g., Ziploc)
1 gallon-size plastic food storage bag
Ice cubes

How to make it:
Fill the large bag half full of ice, and add the rock salt. Seal the bag.
Put milk, vanilla, and sugar into the small bag, and seal it. (I added a cup of Big Red soda to make Big Red ice cream!)
Place the small bag inside the large one, and seal it again carefully.
Shake until the mixture is ice cream, which takes about 5 minutes.
Wipe off the top of the small bag, then open it carefully. Enjoy!

Thursday, March 22, 2012

Half Lace Scarf

I made this slightly altered t-shirt scarf for extremely cheap. I bought the XXXL t-shirt from Wal-Mart for $4. The lace I had as scrap from another project. 

You can find out how to make a tshirt scarf like the one below at this link.


I cut the piece of lace at the same width of the scarf. Then I cut one side of the lace creating just a regular scarf.


Then I hand sewed the lace in with white thread and did this again at the other end.


Then I had this wonderful infinity lace scarf...


When doubled over it creates one whole side of lace on the scarf.


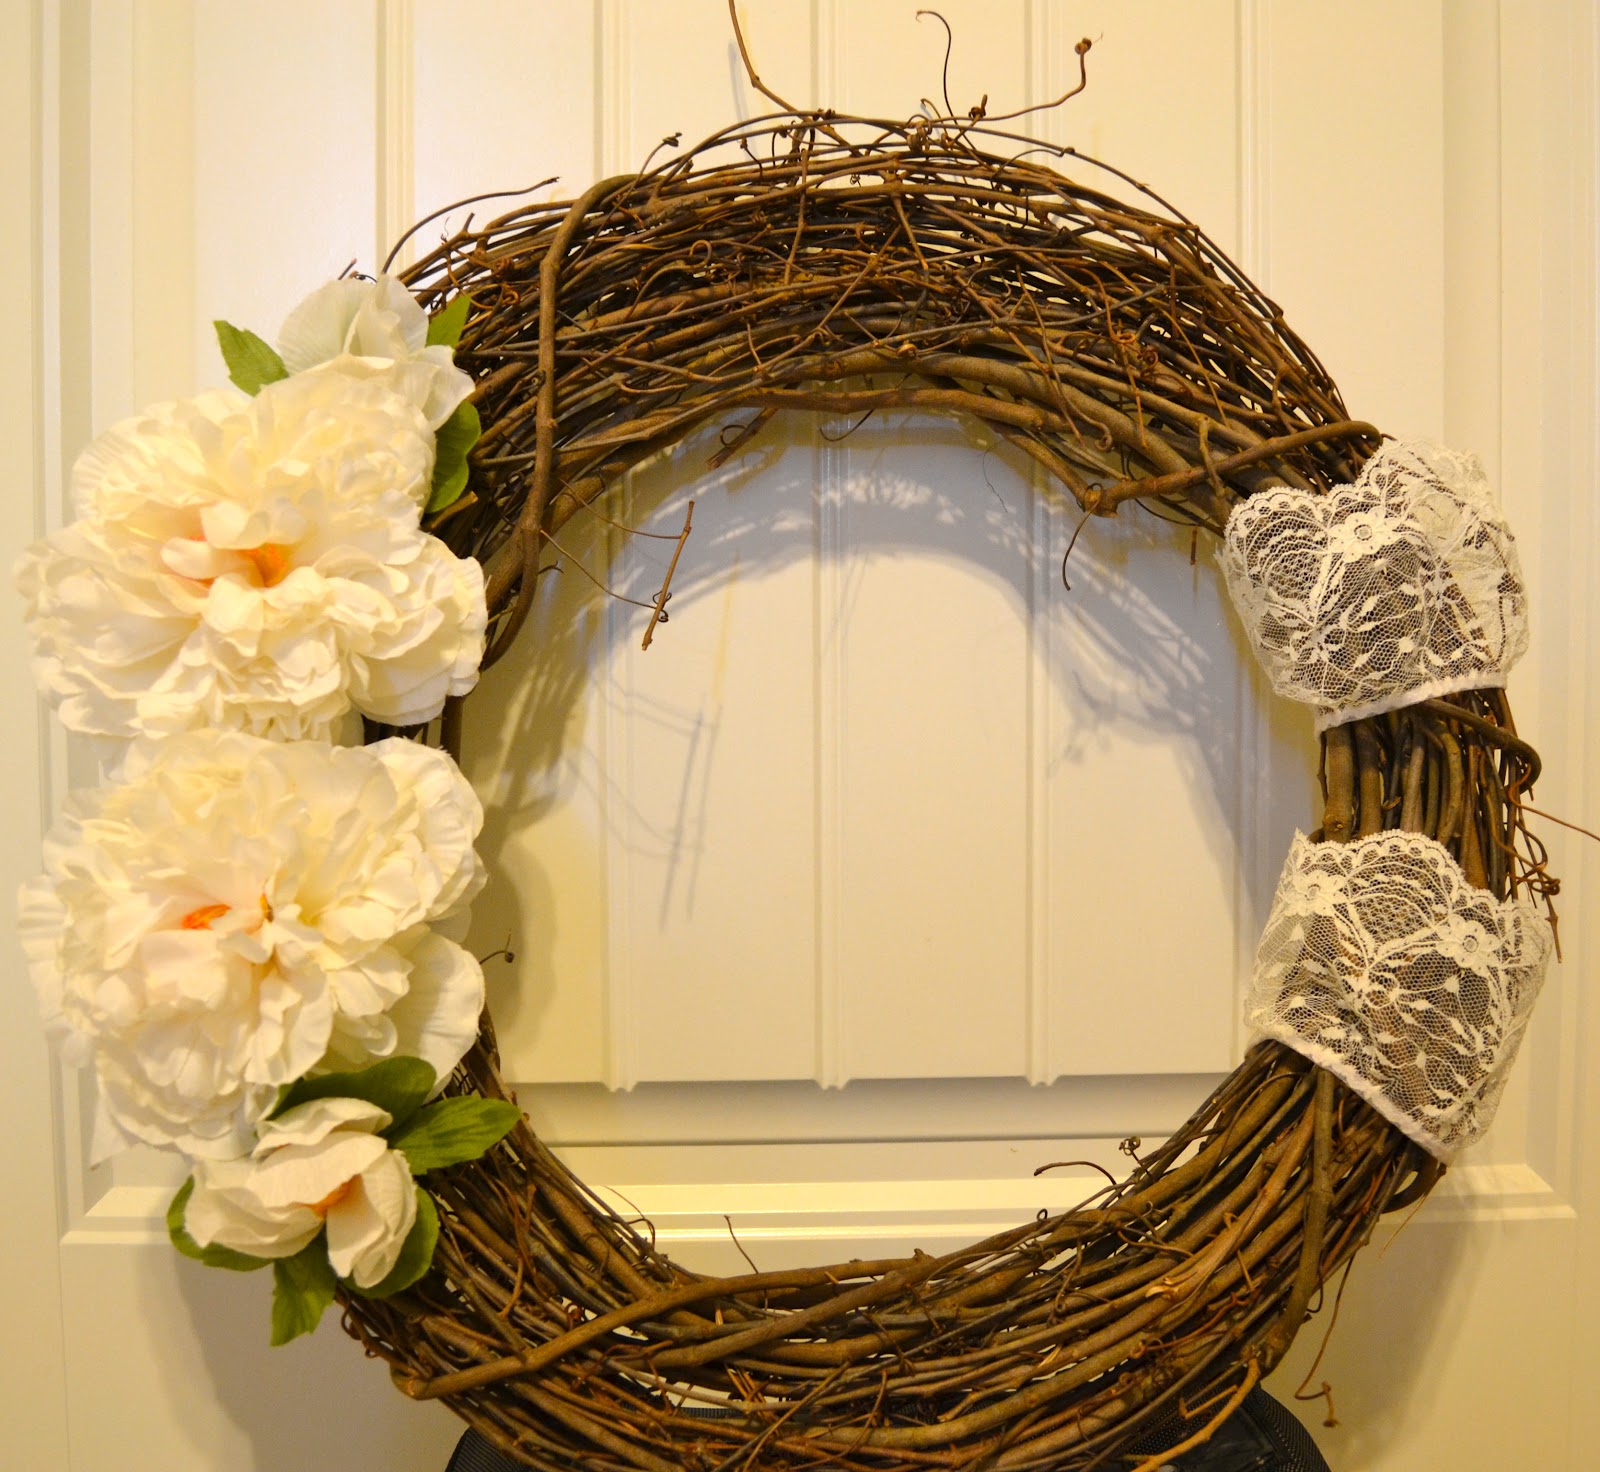
Flowers and Lace Wreath

I made this wreath for $8 and it was so simple.


I took a plain wreath from Hobby Lobby...


Hot glued two small pieces of lace around one side....


And then cut the stems off some faux white flowers and hot glued them on.


All finished!

Wednesday, March 21, 2012

Gold Tack Wreath

I made this wreath out of Dollar Tree thumb tacks and a styrofoam wreath! The ribbon I already had from a different project so it all worked out.


Price: 
5 boxes of tacks - $5
Styrofoam Wreath - $2
=$7 wreath


I used a box that held 300 and used almost all of the boxes, that's almost 1500 tacks. 
I really lucked out finding them at Dollar Tree though, I might have paid twice that for 1500 if not.


I got the wreath from Michaels, cheap and durable!


Then started the hard part, I started around the edges and worked my way in. Every once in a while, a tack wouldn't stick well and I would fire up the hot glue gun to make sure they don't fall out!

15 minutes here, 5 minutes there, as time consuming as it is, if you space it out, it really wasn't a burden at all!


Then I just tied the back ribbon around and I'm convinced any color ribbon would work, I just happened to have this one!


Now I just enjoy my beautiful $7 gold tack wreath.


Friday, February 17, 2012

Painted Shoes


I bought these shoes from target for under $10


Cutting a design into a piece of cardboard and getting out several colors of paint pens I wanted to use...


I drew the zig zag design onto the shoe.


Then just as simple as kindergarden, I started to color it in.


The finished shoes were SO much better than before.


D.I.Y. Flag Shorts

I made these flag shorts and it was one of the most fun projects I've completed...


I went to Savers (a Goodwill equivalent) and bought some old jeans. I made sure they weren't sized weird or anything. $4.99. And I cut them into shorts.

Using Krylon semi-glass and gloss spray paint (make sure it says fabric on the back.)

I then cut out cardboard hearts made sure they all fit on one side.

I first painted the front of the shorts white, but just barely one layer.
Taping off everything and going in a well ventilated area, I painted them red and blue.

After 10 minutes of drying, I peeled back everything.


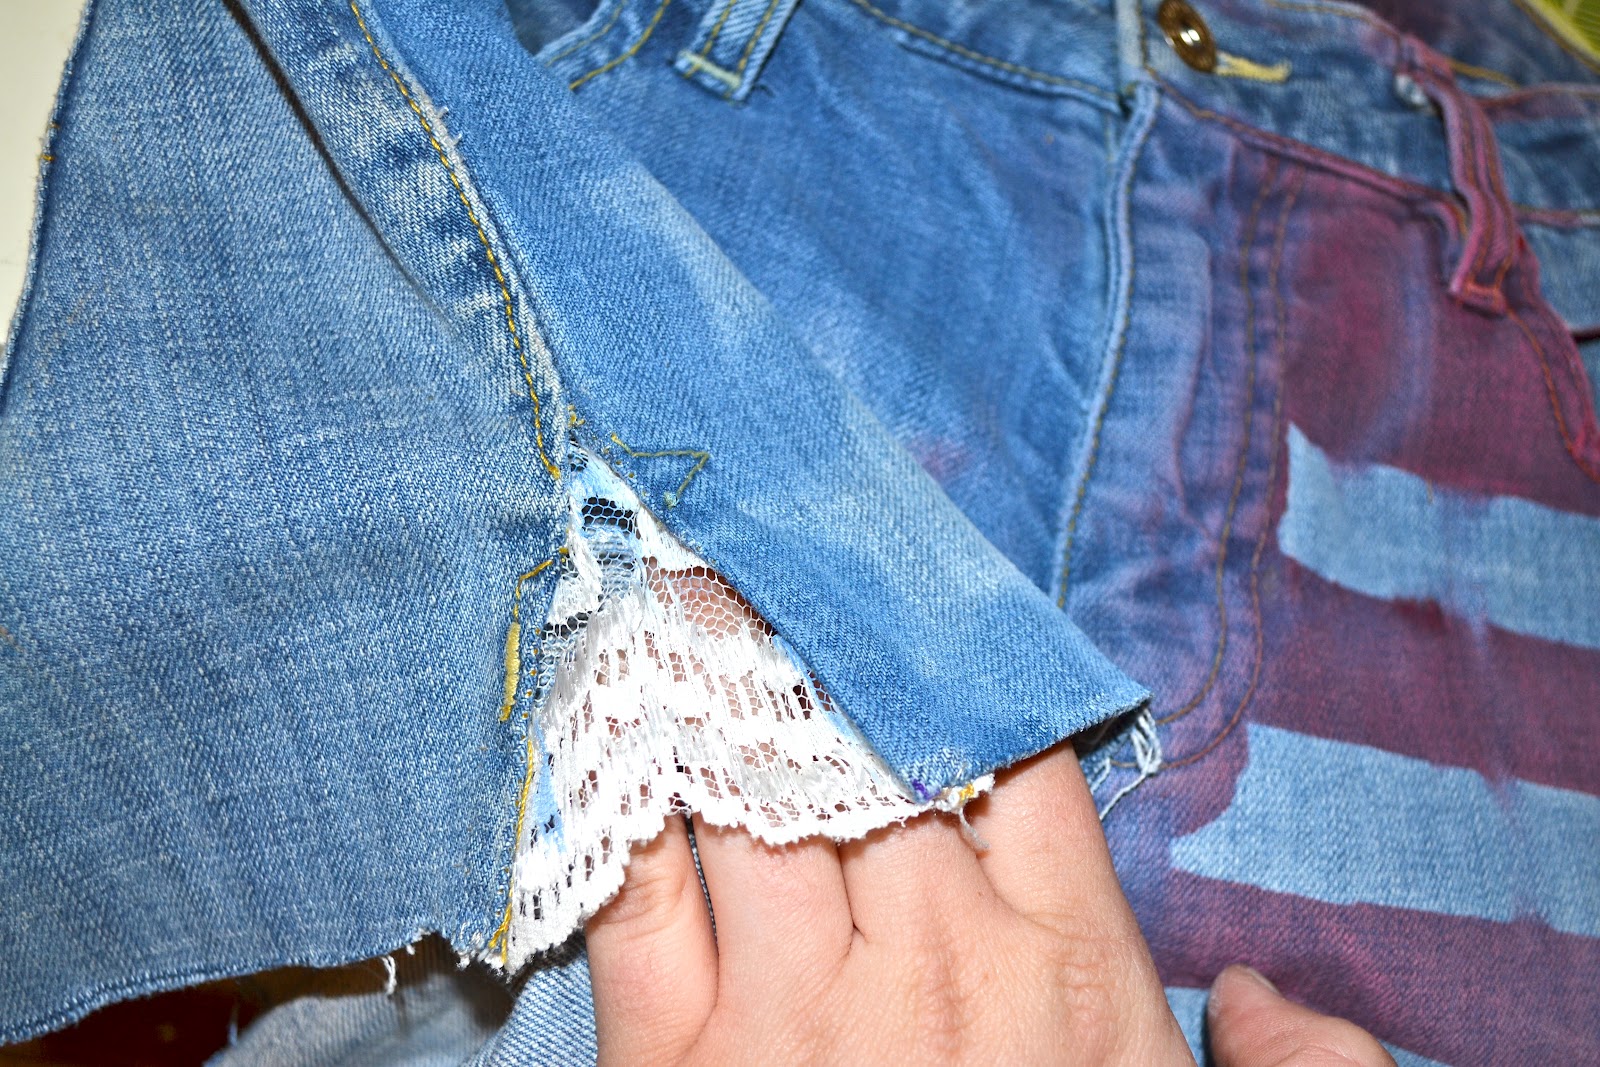
Taking the lace from the first picture, I cut a slit up the side and sewed in a piece of lace.

Just to add more width to the legs, you've got to keep in mind, jeans weren't meant to fit like shorts.

And here is the finished product. Can't wait until the fourth to wear these.

Here are some more I did...with Texas pride. 


Sunday, January 29, 2012

Kitchenaide Mixer Makeover

This Christmas my mom got a new KitchenAide mixer. Her old one, which she has had for 18+ years was looking pretty ratty, yet she was generous enough to give it to my older sister, a graphic design major. It was still running great, but she looked at the mixer and realized there was potential to be taken advantage of. The results were amazing but first she had the task of cleaning years of cake mix, dirt, and grime.


Before & After


She started by taking apart the KitchenAide very carefully!


She used Clorox Clean Up Bleach and a strong sponge for the clean-up!


And the finished, CLEAN KitchenAid was like new!
 But she wasn't finished there...

She covered all the metal parts with lots and lots of tape!


Using her Sillhouette Cameo, she cut out a design along the edges to spray paint over.


Once she was finished, she peeled off the sticker design.


Took off the tape and she had a finished KitchenAide Mixer totally Remodeled!